
So, early spring this happened...
ouch :(
The terrace was expanded and completed as we were finishing up the barn renovation HERE in the spring of 2011. (You can see the "renovation photo story of the terrace" HERE)
Later that summer hurricane Irene tore through New England and the wall was never the same. I cannot complain too much however, as the initial tracking had the hurricane coming directly through our small village. To see our location as a red dot on a weather tracking map being in the direct line of the hurricane was a fear I will not soon forget. Irene changed course the night it was to hit southern New Hampshire and instead went on to devastate Vermont. The damage to Vermont was shocking and heartbreaking, so I really can't complain that my stone wall was damaged.

The excavator man who did the initial stone wall and terrace wall came to repair the wall after Irene, but over the last several years there was more settling and movement of stones in the walls. While perforated plastic pipes were placed in the initial construction for water run off Dan decided that french drains would help abate the settling situation by addressing the rainwater drainage issue. I had no idea how this wall would be repaired. When the wall was initially built the huge granite cut-stones that were set into the grass for steps down to the garage/motor court hadn't been placed yet, so it was not like we could bring an excavator in to do the job. Dan contacted the man who did our french drains around the farmhouse and after weeks of calling him, he comes out, agrees to the job and then drops the ball and is a no show. At this point Dan decided to do it himself; he had a plan. I didn't ask how the plan would work as the whole situation was really bumming me out, so I put on my "rose colored glasses" and decided it would be fine! On a walk with the girls a day or two after deciding he would do the project himself we had a very fortuitous chat with a neighbor. Adam had just graduated summa cum laude and was taking the summer off before going for his masters in business. He casually mentioned wanting to work some for extra money, but didn't want to work all summer long. We knew he was a really good worker and that Dan would need help on the project, so it was a win-win!
This is cute Adam doing the dirty job of digging the trench for the french drain. To say he is a hard worker is a ridiculous understatement; he is a nonstop powerhouse. Millennials get a bad rap these days, but this one has an amazing work ethic. That he and Dan worked so well together made the whole project go smoothly.

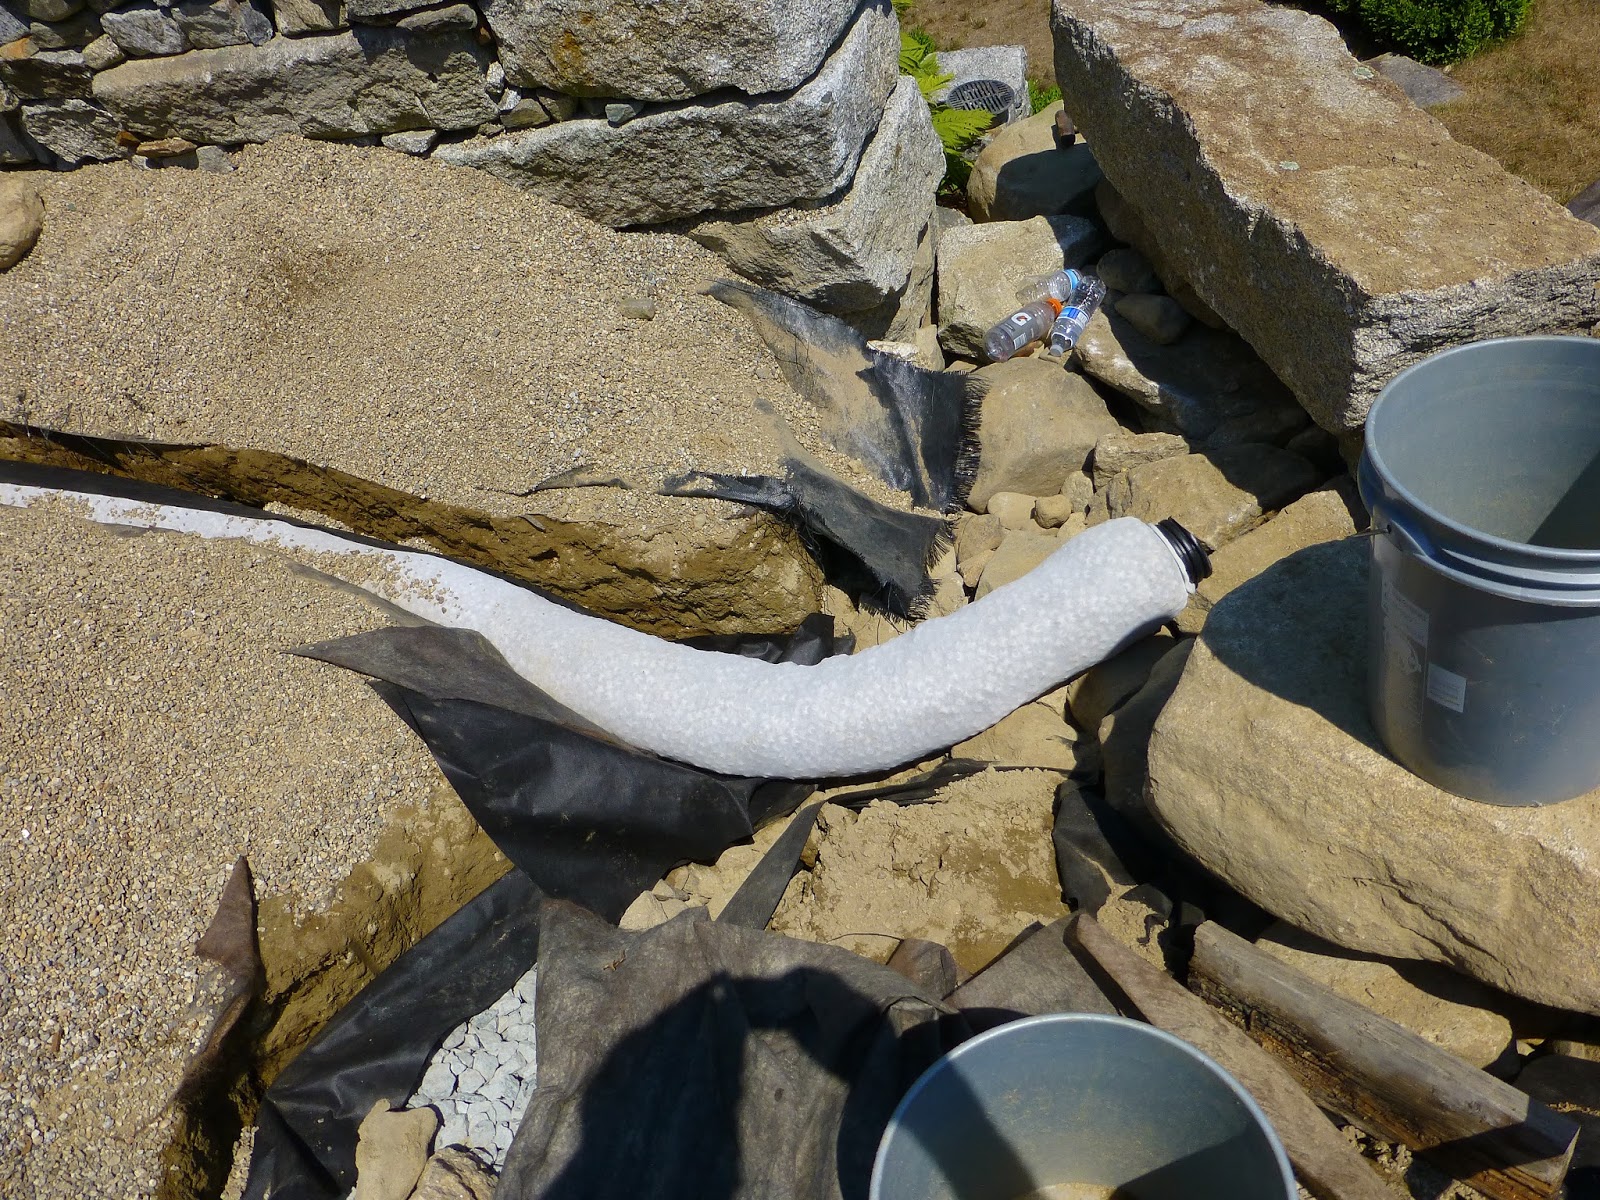
The trench for the new french drain.

They followed the line of the original drainage pipe, so basically we now have a french drain set over a perforated drainage pipe. They found the original pipe had been completely crushed where the pipe drained from the wall, so the new french drains should rectify the situation. Yay Dan!

Look at those crazy piles of pea gravel.

Another drain was needed running from the north french door of the barn room to the corner of the stone wall. The pre-made corrugated french drain pipes are from Lowe's and made the labor on this trench so much easier (at least that's what I heard;)

The rebuilding of the stone wall. Gotta love a handy (and cute) husband!

I decorated the yellow fertilizer spreader on the back of Big Blue with some large caribou antlers. Doesn't it look nice?!!!! :) I'm just joshing with you!!! Though some who know me would totally think I would do that:) The antlers have been in the garage forever, needing some rough ends cut and they ended up in spreader to get them out of the way! During the project Dan would drive Big Blue (on back roads:) to a rock quarry about 5 miles away to get scoops of stone for the project. On one trip someone stopped him to ask him what he had in the spreader!

Of course it was super hot on all their work days. This day was 88 and wicked humid. I was in charge of ice water, iced tea, lunch and beer, aka "mason juice" delivery to the job site :) I was also in charge (self-appointed, of course) of reminding them to reapply sunscreen every 2 hours. What would they have done without me?!!!;)

Making the finishing touches. Ah- mazing repair! I'm so proud of Dan, and Adam too- he had never worked with stones and was a natural. They did a craftsman-worthy job on the wall.

The boys finishing up spreading the pea gravel.

I took this photo as I was sitting in a chair with a margarita "stupervising" and "helping" them finish up. I think they really appreciated my contribution:):)!! As I wrote on IG... this is how you know you are old- when you have a cute 21-year-old working shirtless, at times, for you and all you can think is "Is he wearing sunscreen?!" lol Hence the sunscreen on the table, cuz no he wasn't!!! There will be no sun damage on my watch;)

The two cuties congratulating themselves on a job well done!
After getting his MBA Adam has plans to go into medical device/medial equipment sales, so if you or someone you know needs a super smart, personable, creative, extremely hard-working, all-around good person and cute salesman I can put you in touch!

The "almost" finished wall;) Still some tweaking to do, but it's back together and stronger than ever. We had a big rainstorm this afternoon and the new french drains worked like a charm!
(this photo is really pinky as I just took the photo at dusk and the sky to the east was very pink)

With the terrace back to its former glory we can now get back to cocktails on the terrace enjoying views like this!

Now, on to the next big project... which is having several sides of the farmhouse painted. As Roseanne Roseannadanna would say, "It's always somthin' !"
What have you been up to this summer?!


